|
ON JOINED KINGS Home | Traps | Openings | Endgames | Puzzles | Library | About me Often a player has a winning position, but doesn't know what to do about it, because the kings are connected and doesn't know how to take them apart. The most basic position to consider is KQ-k (this notation denotes any generic position where white has a king and a queen and black has a king; white's pieces are denoted with uppercase letters and black's pieces with lower case). In general, white wins, however if black are able to connect kings (Q-Kk), then it is a draw. Two queens however are sufficient (QQ-Kk). To win, white creates a setup, i.e puts his pieces on designated squares. If black's king is standing on one of them, white can waste a tempo, forcing the black king out. For two queens, the easiet setup to conceive is the following: 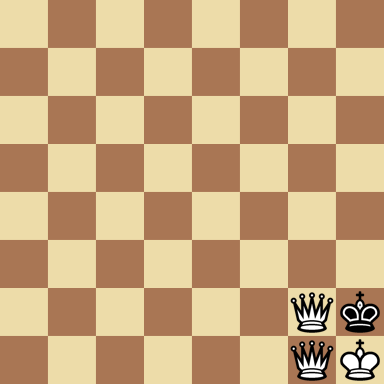 Black to move: if his king is not on h2, then the kings are disjoint. The two queens are a bit of an over kill, we will go over the wins: RR-Kk, RN-Kk, RB-Kk and BB-Kk. The setup for RR-Kk is very similar: 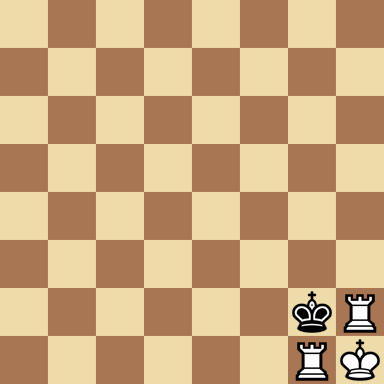 Black to move: 1... Kf3, 2. Rg2 (any). The setup for RN-Kk is also simple: 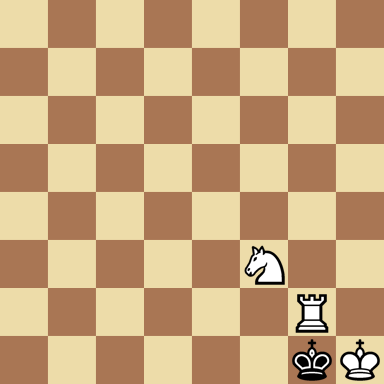 Black to move. White manage to play Ng1 or Nh2 (if black's king is on h2). The setup for RB-Kk is slightly more complicated (diagram below). The idea is to force the black king off the d-file. Unfortunately, black's king is not on d2, so white can waste a move, say 1. Rg3 Kd2 2. Rd3 Kd1 3. Rd2 Ke1 4. Bd1.  White to move: white waste a tempo luring black's king on the d2 square. The BB-Kk is similar, except this time white want to force black's king on the d1 square. Say its black to move. After, 1... Kd2 2. Bb4 Kd1 3. Bd2 Ke2 4. Kb2, black are hopeless. 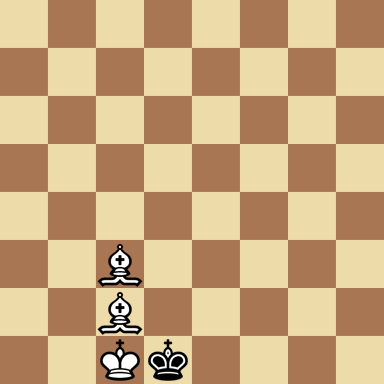 Black to move: after 1... Kd2, white waste a move to get control of the d2 square. |
||||